Livestock producers need reliable waterers that won't freeze.
Varel Bailey has now built his fourth waterer that keeps those promises. His system "is the result of about 40 years of trial and error in five pond waterers," he says.
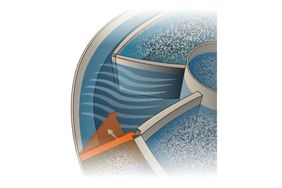
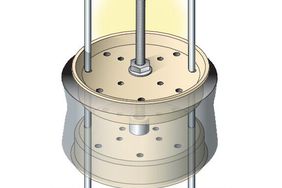
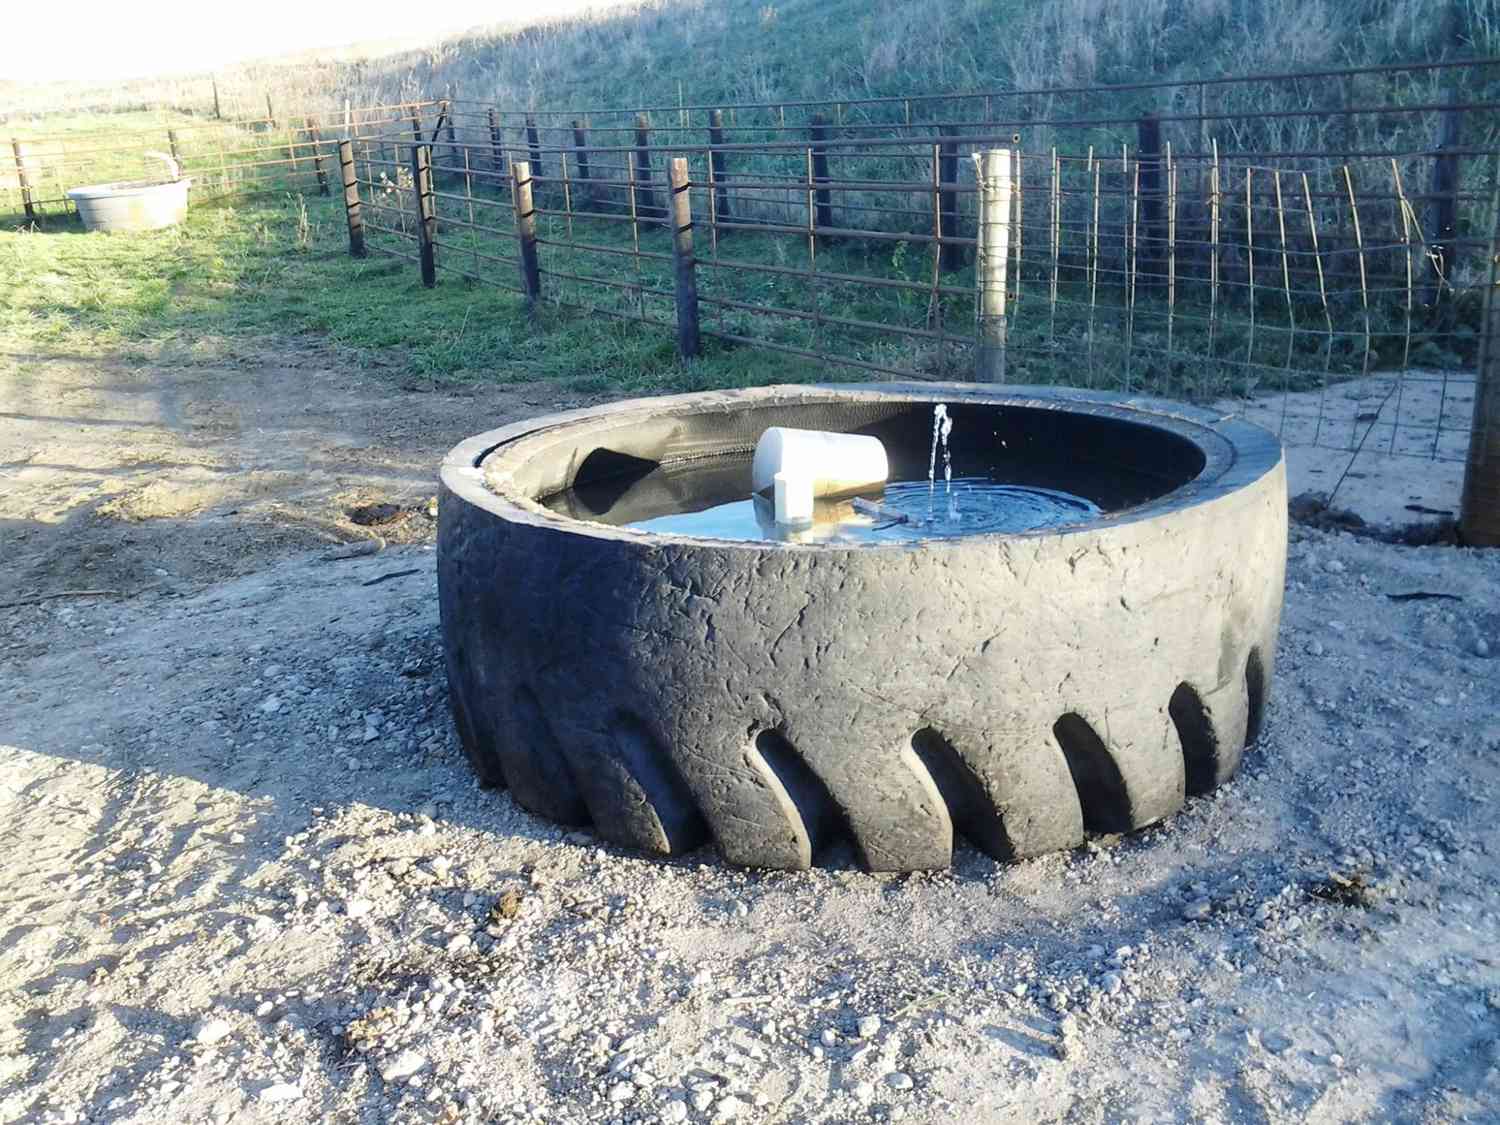
Above ground is a giant rubber tire tank that holds up to wear from cattle. Inside the tire is a cement center designed to be removable when the plumbing (supply and drain) needs service. If the tire needs to be replaced, a new cement disk is made to fit that specific tire, Bailey explains.
A valve lets a large flow of water in when cattle come up to drink, and a port on the side with a jet shoots a small stream of water toward the surface at all times.
The combination of water flow toward the surface and the dry well under the cement disk filling the tire creates a heat sump.
"When it gets below 0°F., water may freeze all the way around except for what I call a drink bowl about 1 foot across directly above that jet of warm water coming up. As soon as cattle come up and drink and drop the water down below, the ice will cave in a little bit."
The Details
By Varel Bailey
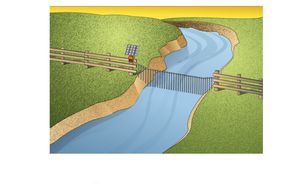
The concept is a hillside pond of 1 to 5 surface acres that's 20 feet deep and fed by both a 20- to 50-acre watershed and a natural clay layer that forces water in from the bottom. The dam has an emergency spillway and a tile drain drop inlet that normally controls the maximum water level. A tile drain also runs along the toe of the dam to intercept any seepage to keep the area for the livestock waterer dry. That tile line also serves as the outlet to drain the waterer. Livestock must be fenced away from the water pool and the waterer placed about 20 feet from the fence to avoid livestock crowding damage.
Trickle tubes (insisted on the USDA) must be capped off or forced into the tile drain to preserve the waterer area.
During dam construction, a 1¼-inch pipe is laid through the berm of the dam, 4 feet deep at the waterer location and midheight of the pool water depth in the pond. The pipe in the pool is capped and the last 5 feet has at least 25 ¼-inch holes to form a filter. A gate valve is installed in the line just inside the fenced area with a riser tube and control rod. The waterer end of the pipe and a waterer drain must terminate within 18 inches.
The best waterer is a sliced 8-foot rubber construction equipment tire. It holds enough water for a typical 40-cow-calf herd to drink at once. (Smaller tires may also be used – the herd learns not to come all at once.) These tires are tall enough to reduce a 'cow swimming,' and with the correct water level, the calves can drink. A tire is one of the few tanks that can endure freezing and thawing plus cow abuse.
To make a tire tank, we start by making a cement plug for the center of the tire on the shop floor. Cut a plywood circle to exactly fit in the hole where the tire rim was. It is important that the circle goes easily through the hole and does not cover the area where the side of the rim held the side of the tire; that area will be filled later with silicone caulk to waterproof the cement plug to the tire.
About 1 foot from center opposite from each other, cut a hole for a 3-inch PVC drain pipe and a 1¼-inch-pipe inlet pipe. Securely block up the plywood circle just even with the tire bead. This should leave 4 to 6 inches of PVC pipe and 1¼ inch pipe below the plywood to make connections during installation. Next, cut strips of sheet metal 5 to 6 inches wide, and make a circle 4 inches larger in diameter than the ledge the rim contacted. (Clamp the metal strips with locking pliers to make the circle.)
With the metal circle in place, place a straightedge across the cirlce – this will be the level filled with cement. Cut a length of 1¼-inch pipe from the shop floor to 1 to 1½ inches above the straightedge-cut threads on both ends. (This is where the valve will go and hose from the inlet pipe.)
Place a coupling on a length of 3-inch PVC pipe and cut to a length from the shop floor to the straightedge. (This will be the drain outlet.) After placing the pipes in the plywood holes (PVC coupling goes up), stuff the insides with paper to keep cement out. Make two lift handles from ⅜-inch rod bent into a V-shape with ears. Fill the metal strip ring with high-quality concrete; make sure the pipes are straight and insert the lift V's. Make an arrow mark in the soft concrete and a cattle chalk mark on the rim to note the best alignment of reassembly at the pond. After it is hard, set the cement disk on edge and grind off the roughness where the tire sidewall meets the bead ring. During assembly, the weight of the cement pushes down on the sidewall squeezing the bead ring and making it difficult to drop in.
Installation below the pond starts with digging a hole around the pipe and drain tile. Install a coil of 1¼-inch hose and a section of 4-inch drain tile about 2 feet longer than up to the surface. Insert a 30-inch or 36-inch well tile up the final level of the tank area. (This exact level is not important – too short is better than too long for final assembly.) The dry-well serves as an area to connect the supply pipe and drain to the tank, and it also serves as a heat source below the tank in winter.
Level an area around the well tile at least 16 feet in diameter. Add 3 inches of a packable aggregate (e.g., crushed limestone, fine-crushed concrete, etc.) and pack. Wet if possible when packing.
Center the tire over the well tile. Suspend the cement disk about 1 foot above the tire bead with the arrow and the caulk mark aligned. Lying in the tire, attach the inlet hose to the pipe and fasten the drain tile to the PVC outlet. The easiest way to fasten it is to split the tile end and squeeze with a giant hose clamp. Apply a generous amount of silicone caulk to the tire bead and the bead notch in the cement and the area where the cement disk covers the sidewall.
:max_bytes(150000):strip_icc()/Come20along20for20installation-2000-1106815978db43fe8cd7ca54c7bdb769.jpg)
When lifting the cement disk, it is sometimes better to use a come-along. That way, it can be lowered slowly and kept level to get it to drop in the bead ring. After it drops in, add more caulk where the cement meets the sidewall.
:max_bytes(150000):strip_icc()/Empty20waterer-2000-9a152096f54f484e8513c00ef0ba1b76.jpg)
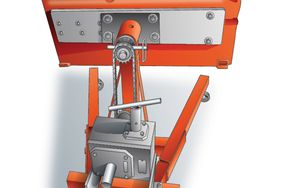
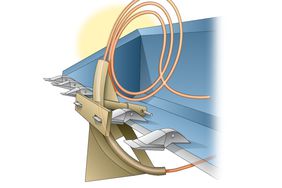
Final assembly is installing the water valve and cutting a piece of 3-inch PVC to fit in the coupling buried in the cement that lets the water overflow at the level the calves can drink and to set the float just at that level, too.
After final installation, we fill the tank to the overflow level, then turn it off at the pond. A day later, we check for leakage. Normally we then drain the tank, wait a day for it to dry, then recaulk around the edge.
Never freezes and cleanup is easy
The part that really makes the waterer a "never-freeze" is the attachment to the valve. On the side of the valve is a hole tapped for ¼-inch pipe. We attach an elbow and a brass airline breakaway connecter, then point it up and toward the float. This provides a continuous stream of fresh warm water directed toward the surface. That is enough to always keep a drink hole open even in temps below 0°F.
In the summer when junk closes the inlet holes in the pipe, simply block up the float to close the water valve, snap on an air hose on with a tank of compressed air, and blow the line clean. Be sure to always use a brass connector; a steel connector rusts and will not hook up.
