:max_bytes(150000):strip_icc()/HammerRack-4-7a56016d3eb847baabd15b4424f1abe4.jpg)
David Ekstrom
Project Overview
- Working Time: 45 minutes
Don’t you know there’s a better way to store your shop hammers?
Hammers hung on a pegboard are heavy! Eventually the boards warp. Plus who wants to make trips back and forth to the tool box when you’re working across the shop?
Keep your hammers organized and station them where it makes sense for you.
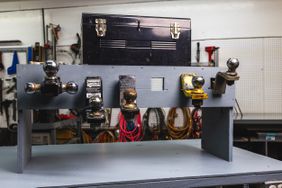
With a little welding skill and scrap iron, anyone can build this nifty, portable hammer rack farmer Todd Miller of Blue Mound, Illinois, shared with us. He says he usually keeps his hammer rack under the main welding table or workbench.
What You'll Need
Equipment / Tools
Tools necessary
- Workbench
- Welding mask
- Work gloves
- Grinder
- Metal clamp
Materials
Supplies
- Scrap iron
- 2x⅛-inch piece of flat steel
Instructions
Read the instructions
:max_bytes(150000):strip_icc()/DSC_6813-17022778083149babda3d371409eb3fd.JPG)
Natalina Sents Bausch
- Find 2-inch wide flat steel that is ⅛ inch thick.
- Cut four legs for the hammer rack, each leg 16 inches long.
- Press a 30° angle 4 inches from the top of each leg.
- Cut each of the rack rails 16 inches long.
- Space rack rails 3 inches apart with short pieces of steel. Make sure there is enough space to accommodate all sizes of workshop hammers.
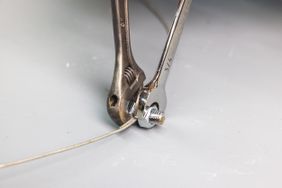
- After completing the cutting, weld the legs, rails, and sides of the rack together.
- Using a grinder, clean up welds to complete construction.