:max_bytes(150000):strip_icc()/DiskOpenerWearGauge-5-bdb7b01666664a8282dd9331d170fb83.jpg)
David Ekstrom
- Working Time: 15 minutes
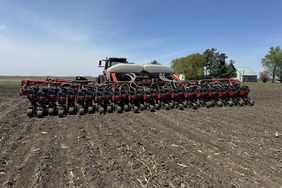
Double disk openers on planters wear. And when they wear down ¼ inch from their original diameter, it is high time to replace them. Planting with worn openers can negatively affect seed depth, and in turn, yields.
Farmer Dean Stevens of Falls City, Nebraska, uses a simple hack to help him accomplish this important, but often overlooked, maintenance chore on planters and drills.
“My idea eliminates the lengthy process of accurately measuring disk opener diameters,” says Dean.
He uses a shop awl to make a scribe mark on the frame of the row unit above the disk when they are new.
What You'll Need
Equipment / Tools
- Metal awl or sharp metal chisel
Materials
- ¼-inch key stock
Instructions
Read the instructions
:max_bytes(150000):strip_icc()/DiskOpenerWearGauge-4-ed7079d0d2e14e2ca73c330578b3f174.jpg)
David Ekstrom
- When the disk openers on a planter are new, scratch a line into the metal behind each disk using an awe or sharp metal chisel.
To measure the wear of the opening disk at the end of the season or before planting the next spring, hold a length of ¼-inch key stock on the top of each opening disk blade. If the ¼-inch stock falls under that line etched into the based metal behind the disc, then it is time to replace that opening disk.
